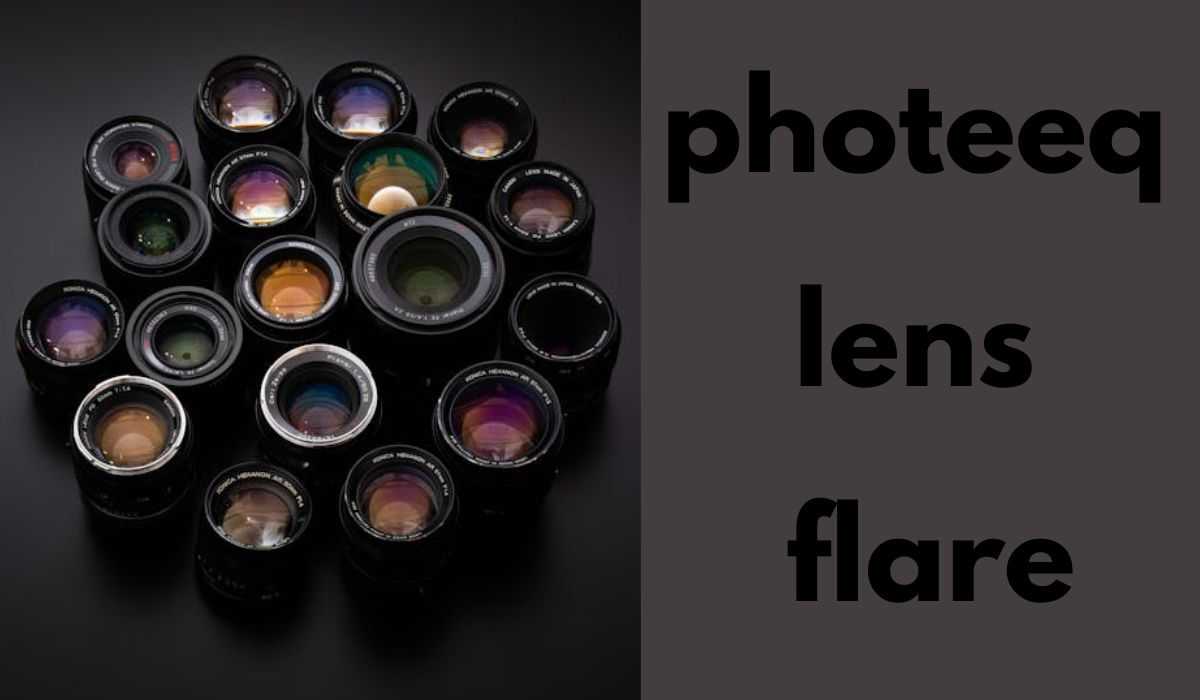
Light Makes Every Photo Come Alive
Light brings every photo to life. When strong light enters a camera lens, it sometimes creates a soft glow or bright circles this is called lens flare effect. In the past, people tried to avoid it, but now photographers and editors use it on purpose to make photos feel warm, dreamy, and like scenes from movies. This cinematic lens flare post-production effect has become a trend in modern photography light effects.
Photeeq Lens Flare is a lens flare plugin that helps you add this effect easily. You don’t need costly gear or special lights. With just a few clicks, you can make your photo look like it was taken during golden hour or in bright sunlight.
This article explains what Photeeq Lens Flare is, how it works, how to use it, and how to make your photos look more natural and beautiful using non-destructive lens flare editing.
What Is Photeeq Lens Flare?
Photeeq Lens Flare is a lens flare tool or effect pack. It helps you add light effects like sun flares, glowing rings, and shiny streaks to your pictures. These realistic lens flare effects make your photo look more lively and emotional. In real photography, lens flare happens when light reflects inside the camera lens.
Photeeq creates that effect digitally giving you full control. You can choose where the flare shows up, how bright it is, and what color it should be allowing color temperature lens flare matching scene precision.
You can use Photeeq Lens Flare in Photoshop, Lightroom, or even free online tools like Photopea. It’s also compatible with Photoshop CC and works well with both portraits and product photography edge light with lens flare.
There’s plenty more to explore check out our other posts!
How Does It Work?
Photeeq works by placing a digital layer of light over your photo. You can move this light around, change its size, and adjust how bright it is. The effect mixes smoothly with your photo, making it look like studio lighting or natural sunlight.
The steps are simple:
-
Open your photo.
-
Pick a lens flare preset style.
-
Place it near a light source in the photo.
-
Adjust the color, size, and brightness.
-
Save and export your final image.
That’s all you need to create a professional-looking light effect. This is ideal for those seeking a Photeeq Lens Flare quick workflow.
Main Features of Photeeq Lens Flare
Photeeq gives you useful tools that make editing quick and simple.
Key Features:
-
Preset Collection Many ready-made flares like rings, streaks, and soft glows
-
Custom Controls You can change the color, size, and angle
-
Soft Blending Flares blend naturally into your photo, not like stickers
-
Live Preview You can see changes as you make them
-
Safe Editing Your original photo stays untouched
-
Simple Interface Easy design that beginners can understand
-
High-Quality Output Keeps the photo clear and bright after editing
-
Wide Compatibility Works with popular photo editing apps and supports lens flare overlays free download options
These features make Photeeq Lens Flare easy for anyone to use from beginners to skilled photographers looking for the best lens flare plugin 2025.
Creative Ways to Use Photeeq Lens Flare
Lens flare isn’t just for decoration — it can tell a story. You can use it to show sunlight, warmth, reflection, or movement. Here are some simple ideas for using Photeeq Lens Flare:
Common Uses:
-
Portraits: Add a soft glow behind your subject for a dreamy feel
-
Landscapes: Create a warm sunrise or sunset effect
-
Product Photos: Make items like metal, glass, or jewelry shine
-
Videos or Thumbnails: Add movie-style light for dramatic scenes
-
Social Media Posts: Make photos look more polished and attractive with social media visuals lens flare effect
Used the right way, lens flare adds beauty and emotion to your photo and can improve engagement with lens flare imagery.
How to Use Photeeq Lens Flare
You don’t need to be an expert. Just follow these easy steps.
| Step | Action | Purpose |
| 1 | Open Your Image | Load your photo in the editor |
| 2 | Choose a Flare Preset | Pick a light effect from Photeeq’s lens flare presets |
| 3 | Place the Flare | Put it near the light source in your image |
| 4 | Adjust Size and Brightness | Use sliders to make it look just right |
| 5 | Blend It Naturally | Use blending modes like “Screen” or “Overlay” |
| 6 | Save and Export | Save your photo in high quality |
This step-by-step process gives your photo a cinematic look and is useful for people searching for Photeeq Lens Flare tutorial or Photeeq Lens Flare step-by-step in Photoshop.
Best Tips for a Natural Look
To make your lens flare look real, use these helpful tips:
Tips for Real Results:
-
Use Soft Light Don’t use harsh, bright flares that cover details
-
Match the Scene Place the flare where the light source actually is
-
Warm Colors for Daylight Yellow and orange tones work well outside
-
Cool Colors for Indoors Blue or white flares suit indoor or night shots
-
Check the Whole Image Zoom out to see if the effect looks right
-
Keep It Simple Small, subtle flares often look the best
These are essential tips for anyone exploring lens flare tutorial for beginners or trying to avoid overdoing lens flare in photography.
Benefits of Photeeq Lens Flare
Photeeq Lens Flare helps you add creative light effects easily and quickly.
Main Benefits:
-
Saves Time No need to wait for perfect natural light
-
Adds Emotion Light can make photos feel warmer or more powerful
-
Draws Attention Helps guide the viewer’s eye to your subject
-
Creative Freedom Try different light effects safely
-
Easy to Learn Anyone can start using it in minutes
-
Pro Results Makes any photo look more polished and deep
This makes Photeeq a powerful tool for commercial photography lens flare effect and even retro lens flare effect vintage film look for themed projects.
Common Mistakes to Avoid
Even though Photeeq is simple, using it the wrong way can ruin a photo. Try to avoid these mistakes:
-
Too Many Flares One is usually enough
-
Wrong Placement Don’t place a flare where there’s no light source
-
Too Bright Strong light can wash out faces and colors
-
Wrong Color Match the flare color with the scene’s natural light
-
Covering the Subject Don’t block the important parts of your photo
Use lens flare to enhance your image, not to hide problems. Smart placement is a lens flare composition tip worth remembering.
Troubleshooting Tips
If something doesn’t look right, try these easy fixes:
-
Too Bright? Lower the brightness or reduce the effect’s opacity
-
Looks Fake? Move the flare closer to the light source
-
Color Doesn’t Match? Adjust the color to fit the lighting in your image
-
Tool Is Slow? Use smaller previews or reduce the number of layers
-
Lost Original Photo? Always keep a backup before editing
If you’re trying advanced styles, such as stack multiple lens flare layers, troubleshooting becomes even more important.
When to Use Photeeq Lens Flare
Photeeq Lens Flare works well for many different kinds of projects:
-
A photographer adds sunlight to a cloudy picture
-
A designer adds reflections for product ads
-
A vlogger adds glowing effects to a YouTube thumbnail
-
A student uses light effects for a school project
Whether you’re doing urban lens flare effect neon lights or natural light edits, Photeeq Lens Flare supports diverse creative styles.
Why Lens Flare Matters
Lens flare is more than just a visual trick it adds feeling to your image. It can make a photo feel warm, nostalgic, or like a movie scene. When used correctly, it supports your story and helps connect with the viewer.
Photeeq Lens Flare gives you full control over that feeling. You can decide how the light looks, where it appears, and how strong it is. This lets you create unique and expressive photos every time whether it’s digital or film look lens flare.
Want to learn more? Our full collection of posts is ready for you!
Conclusion
Photeeq Lens Flare makes it simple for anyone to add natural-looking light effects. With just a few easy steps, you can bring warmth, energy, and depth to your photos.
It’s quick, effective, and perfect for people who want great results without hard editing.
By using light in the right way, you can turn an ordinary photo into something stunning and full of life just like a pro.
FAQs
What is Photeeq Lens Flare?
It’s a photo-editing plugin or effect pack that adds realistic light effects like glow, streaks, and rings to your images.
Which software does it work with?
You can use it in Photoshop, Lightroom, or online editors like Photopea. It works well in both Photoshop CC and other pro software.
Is it hard to use?
No. Just pick a flare, place it near the light source in your photo, adjust it, and save. It’s fast and easy perfect for those searching for a Photeeq Lens Flare tutorial.
Will it change my original photo?
No. You can work on separate layers, so your original photo stays safe.
How do I make the flare look real?
Place it where a real light would be, keep the brightness low, and match the color with the scene’s lighting. This is ideal for those learning how to use Photeeq Lens Flare for portraits and landscapes.